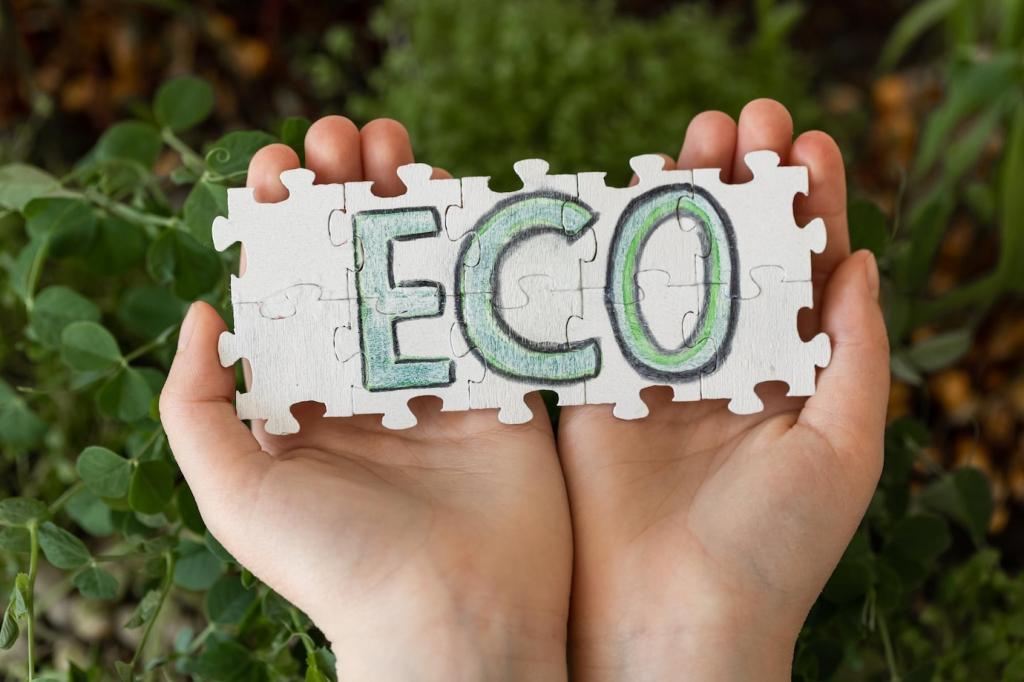
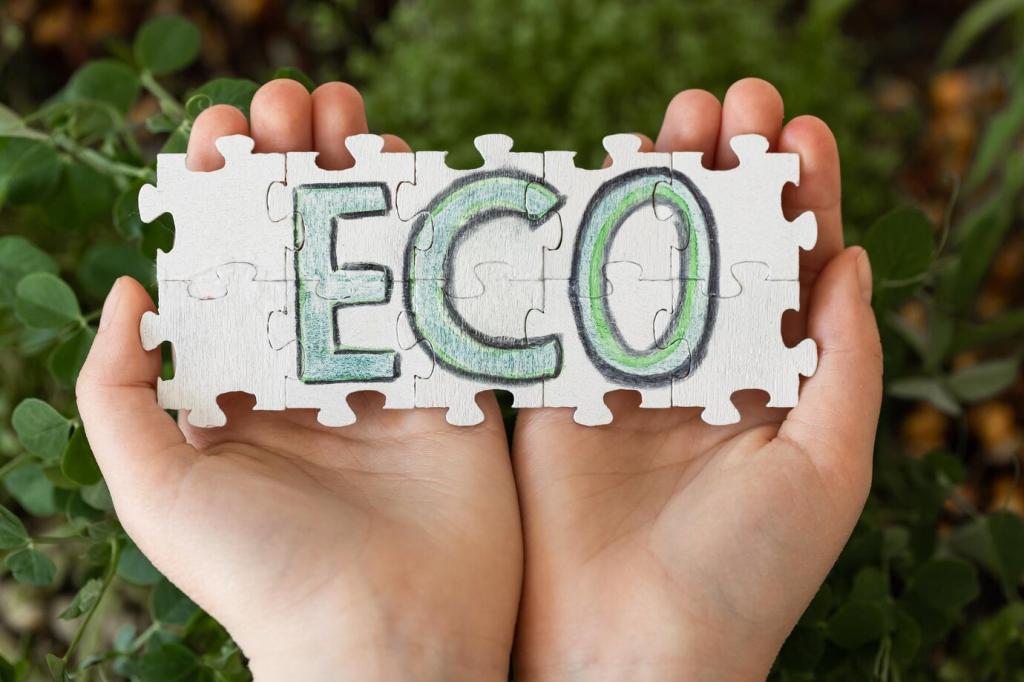
Understanding Patina, History, and the Wood Beneath
Patina is the soft, time-worn sheen that gives vintage wood its character, while dirt is the loose, often oily residue that obscures it. Clean lightly, preserve deeply, and invite readers to comment with photos asking, Is this patina or grime?
Understanding Patina, History, and the Wood Beneath
Sun-faded boards, heat rings, and humidity shifts all tell a story about where to clean cautiously. Share your room conditions and location, and subscribe to get a seasonal checklist tailored to sensitive vintage wood surfaces.
Soft Tools That Respect Fibers and Finish
Choose a natural-bristle brush, a horsehair shoe brush for carvings, and tightly woven microfiber cloths that shed less. Add cotton swabs, an old toothbrush for hardware edges, and a handheld vacuum with a brush head to capture loosened dust responsibly.
Plant-Based Cleaners and Simple Solutions
Keep distilled water, fragrance-free soap flakes or castile soap, black tea for tannin refresh, and food-safe mineral oil with beeswax for post-clean conditioning. Mix only small batches, label jars, and share your favorite ratios with our community.
What to Skip for the Sake of Sustainability
Avoid harsh solvents, silicone polishes, abrasive powders, and strong acids that strip finishes and harm indoor air quality. When in doubt, do less, work slower, and ask in the comments if a product you own is finish-safe and eco-aligned.
Shellac and Lacquer: Fast-Reactive Finishes
Shellac softens with alcohol and lacquer reacts to strong solvents, so keep moisture minimal and use soap solution sparingly. Blot, do not rub aggressively. If unsure, post a close-up photo, and we will help you identify the safer path.
Oil and Wax: Nourish Without Overloading
After cleaning, condition sparingly with a beeswax and food-safe mineral oil blend. Too much product attracts dust and dulls detail. Share your wax recipe, cure times, and how you buffed edges to keep carvings crisp yet beautifully protected.
Painted and Milk-Painted Surfaces
Flaking paint demands ultra-light touch: dry brush first, then barely damp cloth only where stable. Consider consolidating fragile areas with professional guidance. Ask questions before attempting repairs, and subscribe to receive our conservation-first decision tree.
Place a cotton cloth over the mark and use a warm, not hot, iron for a few seconds to coax moisture out. Repeat patiently, then lightly wax. Share your settings and timing; collective experience helps everyone refine this gentle technique.
Try a mild soap solution first, working slowly with a microfiber cloth. For stubborn spots, a tiny bit of odorless mineral spirits on a swab can help, followed by soap and quick drying. Always spot test, document progress, and report results.
Improve ventilation, place bowls of activated charcoal nearby, and set furniture in indirect sunlight for short intervals. Avoid saturating wood with scent sprays. Tell us your timeline and climate so we can suggest adjustments that remain sustainable.
Drying, Conditioning, and Long-Term Protection
Let cleaned pieces dry in a room with steady airflow and moderate humidity, avoiding fans that blast one side. Turn drawers and doors open briefly, then close. Comment with your humidity readings to get customized guidance for safe drying intervals.
Drying, Conditioning, and Long-Term Protection
Apply a whisper-thin layer of beeswax blend, wait ten to fifteen minutes, then buff with a clean cloth until the surface feels silky. The glow should look natural. Share your favorite buffing cloths and how many passes delivered the depth you love.
A Story of Revival and an Invitation
We cleaned an inherited oak desk with dry brushing, a faint soap solution, and a light beeswax buff. The hidden tiger grain appeared like sunrise. Share your heirloom story, and let the community celebrate each careful, sustainable transformation with you.